Bringing a physical product to life often starts with a simple CAD file—but turning that file into real, testable metal parts can feel like a dead end.
Between high minimum orders, long lead times, and confusing fabrication processes, many startup founders get stuck before they even get started.
This guide breaks down exactly how to prototype custom sheet metal parts—quickly, affordably, and in small batches—so you can validate your idea without wasting time or money.
Who Needs Sheet Metal Prototyping?
If you’re building a functional product with mechanical parts or an enclosure—think consumer electronics, smart home devices, automation tools, or industrial accessories—there’s a good chance sheet metal prototyping is the best way to get there.
Common use cases:
- E-commerce sellers launching a niche hardware product
- IoT developers needing a metal housing for sensors or boards
- Kickstarter campaigns that require physical demos
- Hardware startups validating mechanical designs before tooling up
For most startups, the problem isn’t design—it’s execution. You have the CAD file, but you don’t want to commit to a 500-unit run just to see if the product works. Sheet metal prototyping in small batches fills that gap.
From CAD to Cut: How the Sheet Metal Prototyping Process Works
Here’s a step-by-step breakdown of how your concept becomes a functional prototype:
1. Submit Your CAD File
Most fabricators accept STEP, IGES, or DXF files. If you’re not sure what to send, your engineering partner can help clean up or convert your model.
2. DFM Review (Design for Manufacturability)
Before cutting anything, your file is reviewed to ensure it can actually be made. This includes checking:
- Bend radii
- Hole sizes and locations
- Tolerance stacking
- Flat pattern layout for laser cutting
3. Cutting and Forming
Depending on the design and material, the prototype may go through:
- Laser cutting or waterjet cutting
- CNC bending for precise angles
- Punching if high volume or perforations are needed
- Spot welding or riveting for assembly
4. Finishing Options
Choose finishes based on function and aesthetics:
- Anodizing (for aluminum)
- Powder coating
- Brushed or polished surface
- Chem film or passivation for corrosion protection
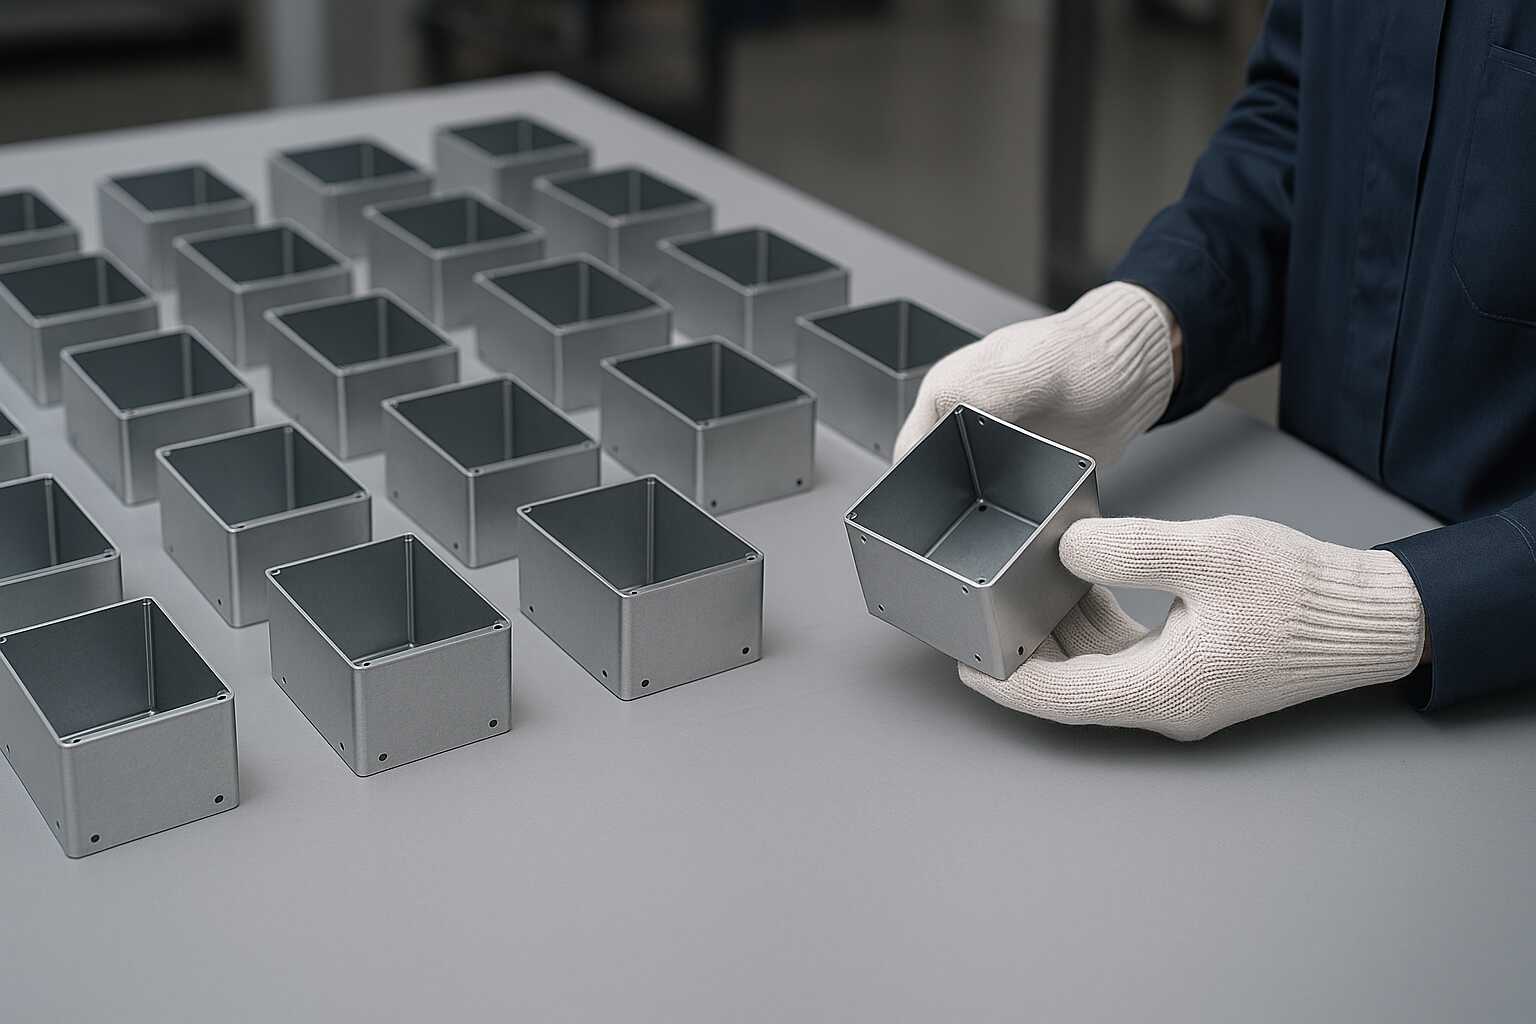
5. Final Assembly and QA
Parts are checked for dimensional accuracy and fit before being shipped. If needed, prototypes can be pre-assembled to test usability or installation.
Common Materials for Sheet Metal Prototypes
Not all metals are equal—especially when prototyping. The right material depends on your product’s use case.
Aluminum (5052, 6061)
- Lightweight and corrosion-resistant
- Great for enclosures, brackets, and consumer electronics
Stainless Steel (304, 316)
- High strength and excellent durability
- Ideal for medical, food-safe, or high-load applications
Mild Steel
- Cost-effective and easy to weld or bend
- Suitable for industrial or structural components
Other Options
- Galvanized steel for rust resistance
- Pre-finished sheet metal for cosmetic parts
Tip: Match material properties to your real-world testing needs. Don’t over-spec just to feel “safe”—it only adds cost.
Prototyping vs. Production: Why Small Batches Make Sense
Traditional manufacturers aren’t built for startups. Most require:
- Large MOQs (minimum order quantities)
- 4–6 week production times
- Complex overseas communication
That doesn’t work when you’re trying to move fast and validate an idea. That’s where small-batch sheet metal prototyping comes in.
Benefits of Small-Batch Sheet Metal Prototyping
- Lower risk – Validate before scaling
- Faster iteration – Test, tweak, repeat
- Cost control – No big upfront spend
- Investor-ready – Physical prototypes for demos
Avoid These Common Mistakes in Sheet Metal Prototyping
Startups can burn time and budget on unnecessary missteps. Here’s what to avoid:
Over-complicated Designs
Tight corners, excessive cutouts, and internal features that can’t be bent or formed add cost and slow things down.
Ignoring DFM Principles
Skipping a proper DFM review can lead to:
- Misaligned holes
- Interference during bending
- Parts that don’t fit during assembly
Wrong Tolerances
Specifying ultra-tight tolerances (like ±0.005”) can triple your prototyping cost. Only tighten tolerances where function truly depends on it.
Choosing the Wrong Finish
Cosmetic finishes like powder coating add time and cost. Use raw or brushed finishes in early prototypes unless customer-facing appearance is essential.
How PrototyperLab Delivers Sheet Metal Prototypes in 7 Days
Most startup founders can’t afford to wait a month—or spend $5,000—just to get a part in hand. That’s why PrototyperLab is built around speed, simplicity, and affordability.
Here’s How It Works
- Submit your CAD file for a free quote (no payment until you approve)
- Get DFM feedback and engineering support
- We build your prototype using in-house or partner facilities
- Receive a tested, assembled part within 7 days (in most cases)
With $25/hour transparent pricing, no MOQ beyond 20 units, and Vietnam-based production backed by U.S. contracts, PrototyperLab eliminates the typical friction points for startups.
Ready to Prototype Your Sheet Metal Part?
If you’ve got a CAD file and a product to test, there’s no reason to wait.
Whether you’re launching a Kickstarter, pitching to investors, or testing demand on Amazon, a real metal part beats another render any day.
PrototyperLab’s Guarantee
- No upfront payment until quote approval
- No extra charges for timeline overruns
- U.S.-based legal and contract protection
- End-to-end support from design to delivery
Submit your CAD file today and get a custom sheet metal prototype in as little as 7 days—without the mass-production headaches.