Bringing a product idea to life means choosing a manufacturing method that matches your budget, timeline, and functionality needs.
For startup-minded makers and lean inventors, the wrong choice can burn thousands and delay your launch.
This guide breaks down the most common prototype manufacturing methods and helps you choose the right one based on your stage and product requirements.
Why Choosing the Right Manufacturing Method for Your Prototype Matters
Selecting the wrong method leads to overspending, missed timelines, and parts that don’t perform. Startups don’t have the luxury of trial and error at scale. Whether you’re making 1 unit or 100, the manufacturing process must align with your prototype’s function, form, and future plans.
1. Understand Your Prototype’s Purpose
Before you choose the right manufacturing method for your prototype, clarify its goal:
- Proof of Concept: Is it to test a working mechanism?
- Investor Pitch: Does it need to look production-ready?
- Market Test: Are you planning to sell 20–100 units on Amazon or Shopify?
Different goals call for different methods.
2. Compare the Most Common Prototyping and Manufacturing Methods
Rapid Prototyping
Best for: Early-stage testing, quick feedback loops
- Speed: Fastest option (1–7 days)
- Cost: Low for small quantities
- Materials: Plastics, resins
- Volume: Ideal for 1–5 units
- Tools: 3D printing, resin printers, FDM, SLA
When to use it: You need a part fast to prove an idea or fit. It’s perfect for iterative design cycles.
CNC Machining Services
Best for: Functional mechanical parts with tight tolerances
- Speed: 5–10 days
- Cost: Medium for low volumes
- Materials: Metals, plastics, composites
- Volume: 1–20 units
When to use it: Your prototype requires real-world strength, accuracy, or threaded parts.
Injection Molding
Best for: High-volume production or final-stage prototypes
- Speed: Tooling takes 3–4 weeks
- Cost: High upfront (due to molds), low per unit after
- Materials: Thermoplastics
- Volume: 500+
When to use it: You’re scaling and need hundreds or thousands of units. Not ideal for early prototypes.
Vacuum Casting
Best for: Low-volume functional prototypes with production-like finish
- Speed: 7–10 days
- Cost: Lower than injection molding, more than 3D printing
- Materials: Polyurethane resins, silicone molds
- Volume: 10–50 units per mold
When to use it: You need market-ready visuals and decent mechanical properties without investing in steel tooling.
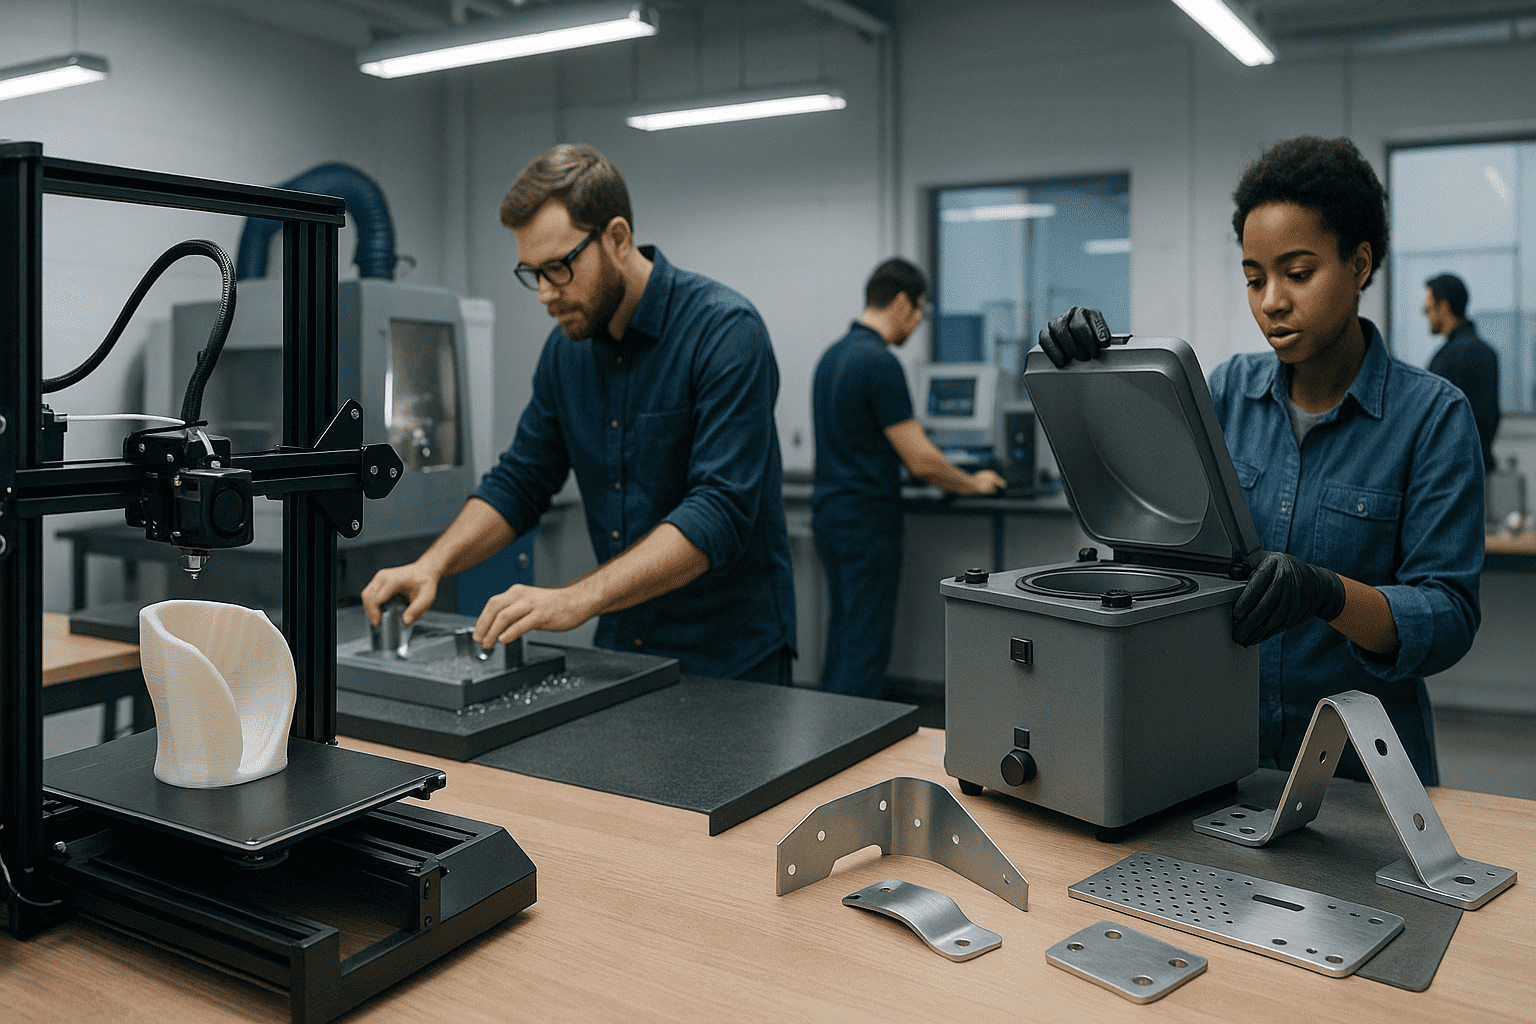
Sheet Metal Prototyping
Best for: Enclosures, brackets, and hardware cases
- Speed: 7–14 days
- Cost: Moderate
- Materials: Aluminum, stainless steel, copper
- Volume: 5–100 units
When to use it: Your design includes flat, bent, or stamped metal parts like consumer electronics casings.
3. Factor in Quantity and Cost
Choosing the right manufacturing method for your prototype depends heavily on quantity:
| Method | Ideal Quantity | Setup Cost | Unit Cost |
| 3D Printing | 1–10 units | Low | Moderate |
| CNC Machining | 1–20 units | Medium | Medium |
| Vacuum Casting | 10–50 units | Medium | Low |
| Injection Molding | 500+ units | High | Very Low |
| Sheet Metal | 5–100 units | Medium | Medium |
4. Consider Material and Functional Needs
Ask yourself:
- Will the part face stress, heat, or wear?
- Does the finish need to match your final product?
- Are you testing cosmetic appeal or mechanical function?
For functional parts, CNC machining or vacuum casting wins. For cosmetic prototypes, 3D printing or vacuum casting is cost-effective.
5. Match Your Prototype to a Scalable Method
Early prototypes should be made with speed and feedback in mind. But if you’re testing the market, prioritize methods that can scale:
- Start with: 3D printing or CNC machining
- Then graduate to: Vacuum casting or sheet metal
- Finally scale with: Injection molding
Final Tip: Don’t Overcommit to the Wrong Method
Too many startups jump into injection molding before validating demand. Others stick with 3D printing too long, delaying real-world feedback. The goal is to choose the right manufacturing method for your prototype based on your current stage, not your endgame.
Ready to Build Your Prototype?
PrototyperLab helps entrepreneurs go from idea to prototype in 7 days, with small batch production starting at just 20 units. Transparent $25/hour pricing, U.S. legal safety, and Vietnam-based cost efficiency mean you get to market faster, without breaking the bank.
Get A Quote Today
FAQ: Common Questions About Prototype Manufacturing
What’s the cheapest manufacturing method for prototypes?
For single-unit or ultra-low-volume production, 3D printing is usually the cheapest option. It has minimal setup costs and allows fast iteration. For slightly larger volumes (10–50 units), vacuum casting can provide lower per-unit costs with good surface finish.
How fast can I produce 50 units of a prototype?
If speed is critical and the part design allows, vacuum casting is one of the fastest methods for producing 50 functional units—typically in 7 to 10 days. CNC machining or sheet metal prototyping can also meet this volume within 1–2 weeks depending on part complexity.