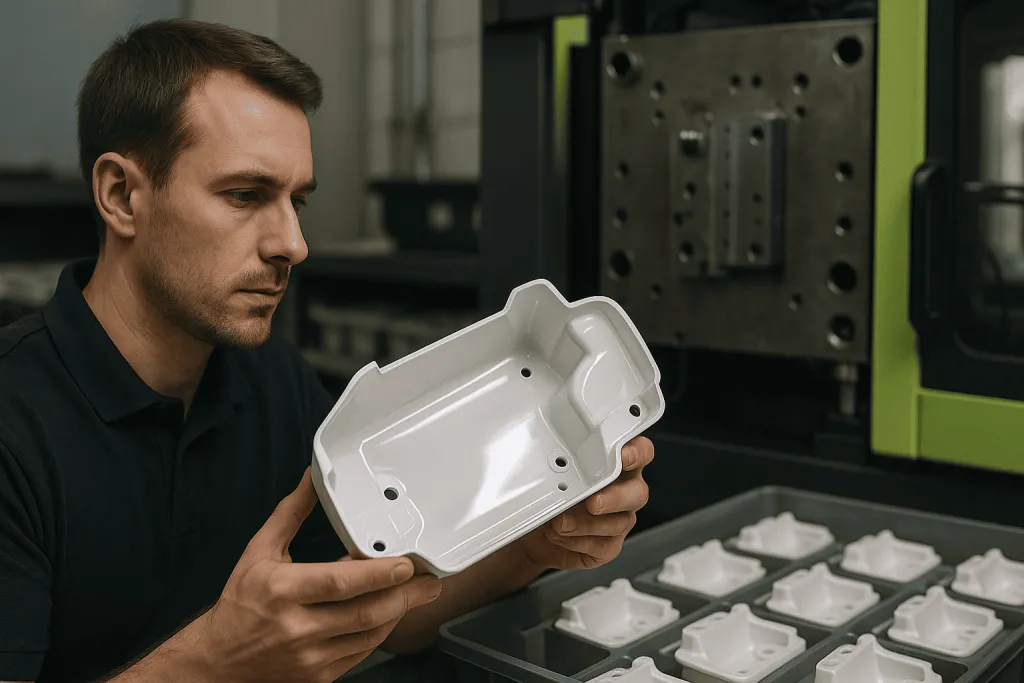
For startup founders navigating the messy middle between prototype and full-scale production, one question always comes up: When should I use injection molding?
It’s a powerful method—but not always the first or most cost-effective step.
This guide explains how injection molding fits into the broader product development pipeline and when to use it versus other rapid prototyping techniques.
The goal is to help innovators build smarter, avoid waste, and scale only when the product is truly ready.
Why Injection Molding Matters
Injection molding is the gold standard for producing plastic parts at scale. It’s fast, repeatable, and delivers high-quality results—once you’re ready. But it’s not always the right choice early on.
Pros of Injection Molding
- Ideal for runs of 1,000+ parts
- Consistent part quality and surface finish
- Works with a wide variety of plastics (ABS, polycarbonate, PP, etc.)
- Low unit cost at scale
Cons for Startups
- High tooling costs ($5K–$20K+ for molds)
- Long lead times (2–6 weeks for mold fabrication)
- Expensive to revise once a mold is cut
How Injection Molding Fits in the Pipeline
Here’s a simplified breakdown of a typical prototype-to-production path for a physical product:
1. Idea and Concept Validation
Use CAD + 3D printing to test shapes, sizes, and user interaction. This is fast, cheap, and flexible.
2. Functional Prototype
Move to CNC machining or silicone molding to validate strength, mechanical fit, or assembly needs. Test with real-world materials.
3. Low-Volume Production (20–100 units)
Use small batch techniques like silicone casting or direct CNC to fulfill pre-orders, run Kickstarter campaigns, or seed to influencers.
4. Scaling Up with Injection Molding
Once you’ve validated product-market fit, refined the design, and confirmed customer demand, this is when injection molding shines.
Combining Rapid Prototyping Techniques Before Injection Molding
Before investing in molds, most PrototyperLab clients use a hybrid approach:
- 3D Printing for quick shape testing and ergonomic checks
- CNC Machining for functional parts with tight tolerances
- Silicone Molding for low-cost runs of 20–100 plastic parts
This staged approach minimizes risk. You move to injection molding only after debugging design flaws and locking in core features.
Case Example: A founder creating a new pet toy first 3D prints a dozen shape variations, CNC machines a test batch for safety and durability, then molds 50 final units for customer feedback. Only after positive reviews and confirmed demand do they invest in a steel mold to produce 5,000 units.
How PrototyperLab Bridges the Gap
PrototyperLab focuses on helping bootstrapped innovators avoid costly mistakes by sequencing the proper techniques at the right time.
3 Key Services
- Rapid Prototyping (30 Days) – Using 3D printing, CNC, and molding
- Small Batch Production (20+ Units) – To test the market before scaling
- Injection Molding Transition – Guidance and production for clients ready to scale
Founders can go from idea to injection-mold-ready design within a few iterations—without blowing their budget on a mold too early.
When to Choose Injection Molding
Use injection molding when:
- You’ve validated your design with physical prototypes
- You need to produce hundreds or thousands of units
- You’ve locked in your design and aren’t expecting major revisions
- You’re selling at scale via Amazon, Shopify, or retail
Avoid injection molding if:
- You’re still testing fit, assembly, or user interaction
- You’re unsure of the final demand
- You’re iterating fast and often
Choosing the Right Mold Type
Even within injection molding, startups have options based on scale and budget:
| Mold Type | Description | Best For |
| Aluminum Mold | Cheaper, faster, shorter lifespan | 1,000–10,000 units |
| Steel Mold | Durable, longer lead time and higher cost | 10,000+ units |
| Soft Tooling (Hybrid) | Temporary molds from silicone or soft metal | Pilot runs, bridge tooling |
Startups often begin with aluminum molds to test medium-scale production, then reinvest in steel once growth is proven.
4 Design Tips Before You Mold
Don’t lock in expensive mistakes. Here are the key design checks before mold fabrication:
- Uniform wall thickness – Prevent warping or sink marks
- Draft angles – Ensure parts release smoothly from the mold
- Avoid undercuts – They increase mold complexity and cost
- Test assembly first – Molded parts often look perfect, but fail if tolerance stacking isn’t managed
Molds Don’t Replace Prototypes—They Follow Them
Injection molding is powerful, but only if the design is ready. The smart path is to iterate with rapid prototyping techniques first, then mold when it makes sense.
It’s not about skipping steps; it’s about doing them in the right order.
PrototyperLab helps founders build prototypes, test designs, and move into injection molding only when it’s smart to scale.
With 30-day prototyping, 20-unit production runs, and clear US-based contracts, founders stay in control at every stage.
Build Your Prototype with Confidence
Send over a sketch, a CAD file, or just a description of what the product needs to do. A real quote comes back within 48 hours.
Get a free quote