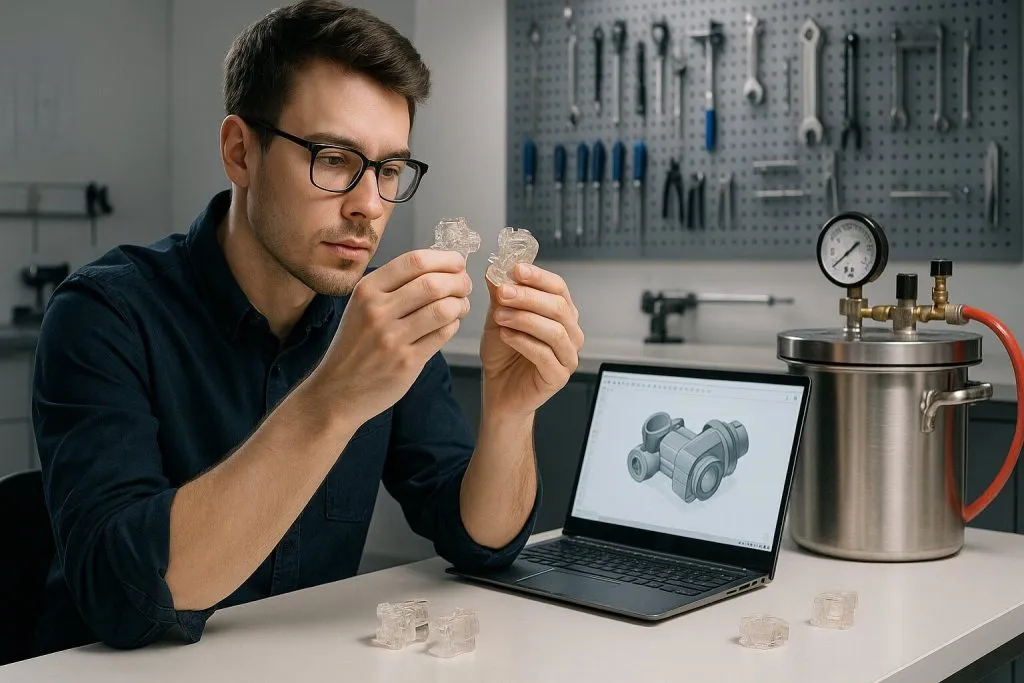
Every startup founder who’s poured resin for a prototype knows the frustration: you open the mold, and instead of a smooth, glassy surface, you find tiny air bubbles trapped in the part. Those bubbles don’t just ruin aesthetics—they compromise the part’s durability, accuracy, and market readiness.
For a hardware startup or e-commerce entrepreneur, that can mean wasted materials, lost time, and a delayed product launch.
This guide explains why air bubbles happen in resin and how professionals prevent them—using the same process PrototyperLab engineers apply in 30-day resin prototyping and small-batch vacuum casting runs.
Understanding Why Air Bubbles Happen in Resin
Air bubbles form when air gets trapped inside the resin during mixing, pouring, or curing. In early-stage prototyping or low-volume manufacturing, this can happen for a few key reasons:
1. Mixing Traps Microbubbles
When resin and hardener are mixed too vigorously, air gets folded into the liquid. Those tiny bubbles might not surface before the resin thickens—especially in fast-curing formulations, such as urethane or epoxy, used for functional prototypes.
2. Mold Geometry Prevents Air Escape
Complex part designs with sharp corners, deep cavities, or undercuts can trap air as the resin fills in. Without proper venting or vacuuming, that air stays locked inside the mold, creating voids and pinholes.
3. Incorrect Pouring Technique
Pouring resin too quickly or from too high a distance introduces turbulence. The higher the drop, the more air you introduce. In small-batch resin casting, professionals pour the resin slowly, from one corner, allowing it to flow and push air out naturally.
4. Temperature and Viscosity Factors
Resin that’s too cold becomes thicker, making it harder for air to escape before curing begins. Conversely, overheated resin can accelerate the cure too fast, trapping bubbles before they rise to the surface.
5. Moisture Contamination
Moisture reacts with specific resin chemistries—especially urethanes—during curing, creating carbon dioxide bubbles. Professionals always ensure both resin and molds are kept in low-humidity environments before pouring.
The Real Cost of Bubbles in Resin Prototypes
For startups, bubbles aren’t just cosmetic—they’re costly.
- Reduced product appeal: A single visible bubble can make a product look “cheap,” even if it functions well. That’s a deal-breaker when testing market perception.
- Dimensional inaccuracy: Bubbles change the resin volume, distorting fit and alignment, especially for enclosure parts or snap-fit assemblies.
- Weakness under stress: Air pockets act as fracture points. Even a few bubbles can cause early part failure during testing.
- Wasted material and time: Recasting costs resin, silicone, and labor hours—delaying launch timelines.
Professionals treat bubble-free casting as a quality benchmark because every iteration counts toward investor confidence, customer satisfaction, and production readiness.
How Pros Remove and Prevent Air Bubbles in Resin
1. Degassing Resin with a Vacuum Chamber
Before pouring, professionals use a vacuum chamber to pull out dissolved and trapped air from the mixed resin. Under negative pressure, bubbles expand and rise to the surface, then pop. This ensures the resin entering the mold is completely degassed and ready for a flawless cast.
At PrototyperLab, vacuum degassing is a standard step for all urethane and epoxy prototypes. It’s one reason clients receive production-grade finishes even on small runs of 20–50 units.
2. Using Pressure Casting for Complex Parts
While vacuum removes bubbles before pouring, pressure casting eliminates any that form after the material has been poured. The filled mold is placed inside a pressure pot that compresses trapped air to a microscopic size during curing, rendering bubbles invisible and structurally negligible.
Professionals use both methods depending on the material and geometry:
- Vacuum casting resin: Ideal for clear or thick parts that require the extraction of trapped gas
- Pressure casting resin: Best for fine details, sharp corners, or deep cavities
This combination ensures bubble-free resin casting and uniform density across every prototype.
3. Controlling Pouring Conditions
Professionals pour resin slowly from a low height, in a controlled, continuous stream—often directing the pour into one side of the mold so resin flows evenly and pushes air out through vents.
Mold design also matters:
- Proper venting: Strategic vent channels allow air to escape.
- Gradual fill direction: Mold flow paths prevent air traps in complex shapes.
These principles are standard in PrototyperLab’s mold design for low-volume resin manufacturing, where precision directly impacts product usability.
4. Managing Temperature and Humidity
Temperature affects viscosity, and viscosity, in turn, affects bubbles. In a professional setup, resin, molds, and workspace are maintained at optimal conditions:
- Ideal resin temperature: 25–30°C (77–86°F) for smooth flow
- Controlled humidity: Below 50% to prevent moisture-induced foaming
These conditions ensure bubble-free results and consistent part quality
5. Choosing the Right Resin and Catalyst Ratio
Incorrect resin-to-hardener ratios alter viscosity and cure times, both of which can trap bubbles. PrototyperLab engineers use digital scales and timing tools to ensure precision down to the gram and second, preventing incomplete cures and trapped gas.
Vacuum Casting vs. Pressure Casting: Which Is Right for You?
| Process | Best For | Key Advantage | Typical Application |
| Vacuum Casting | Clear or thick resin parts | Removes dissolved gases and surface bubbles | Transparent enclosures, decorative housings |
| Pressure Casting | Detailed parts with fine features | Compresses bubbles for a smoother surface | Functional components, small-batch production |
| Hybrid (Vacuum + Pressure) | High-precision or visually critical parts | Combines clarity and detail | Pro-level prototypes and limited edition runs |
Startups typically use vacuum casting for initial prototypes and pressure casting for final pre-production batches, depending on their design and target audience.
Professional Tools Make All the Difference
DIY resin tutorials often skip the equipment that makes professional results possible:
- Vacuum chambers degas resin before pouring.
- Pressure pots compress bubbles during curing.
- Mold venting systems eliminate trapped air.
- Controlled environments regulate humidity and temperature.
Instead of investing thousands in this setup, founders can leverage PrototyperLab’s full-service prototyping facility—complete with vacuum and pressure casting systems, silicone mold design, and material selection support.
That means no wasted resin, no delays, and no guesswork.
From Prototype to Production: Why Bubble-Free Casting Matters
For early-stage founders, resin quality impacts more than visuals:
- It affects investor perception because a bubble-free prototype signals professionalism and product maturity
- It affects user feedback as clean finishes inspire more confidence in testing
- It affects production scaling since consistent resin behavior predicts mold performance in higher-volume runs
Every bubble-free prototype brings a founder closer to a market-ready, investor-friendly, and review-proof product.
PrototyperLab’s Edge: Professional Results Without the Overhead
At PrototyperLab, resin casting isn’t guesswork—it’s engineering.
Startups and e-commerce innovators choose this model because it delivers:
- 30-day prototyping for faster market validation
- Small-batch manufacturing starting at 20 units
- Transparent $25/hour engineering pricing
- US-based legal protection with a Vietnam-based production cost advantage
That means founders get production-quality resin prototypes—without spending $10K or waiting months to test their idea.
Key Takeaways
- Air bubbles in resin come from trapped air during mixing, pouring, or curing.
- Professionals prevent them through vacuum degassing, pressure casting, and environmental control
- The right setup ensures prototypes that are aesthetically flawless and structurally sound
- For startups, bubble-free finishes equal faster validation, better investor appeal, and higher customer trust
Get a Bubble-Free Prototype in 30 Days
Don’t let trapped air trap your progress. Get professional vacuum-cast and pressure-cast resin prototypes that look and perform like finished products. Contact PrototyperLab for a quote today!
Send over a sketch, a CAD file, or just a description of what the product needs to do. A real quote comes back within 48 hours.
Get a free quote